Installation auf Redhat / CentOS 8
1. Vorrausetzung ist ein Debian 11 mit ssh Zugang via Schlüsseldatei.
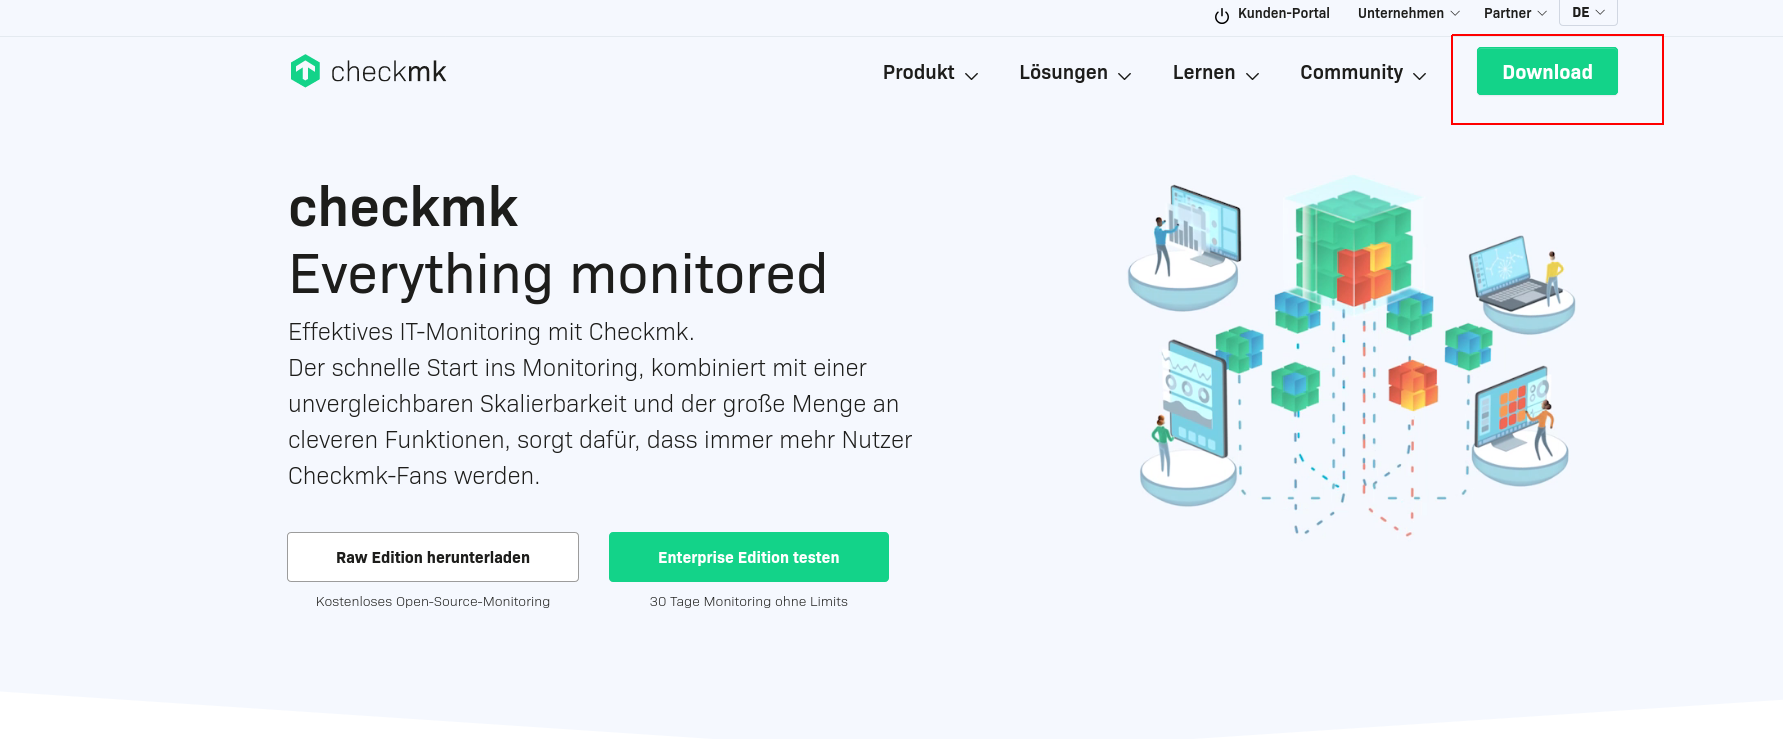
Auf dei Website https://checkmk.com/de
Und oben rechts auf Downloads.
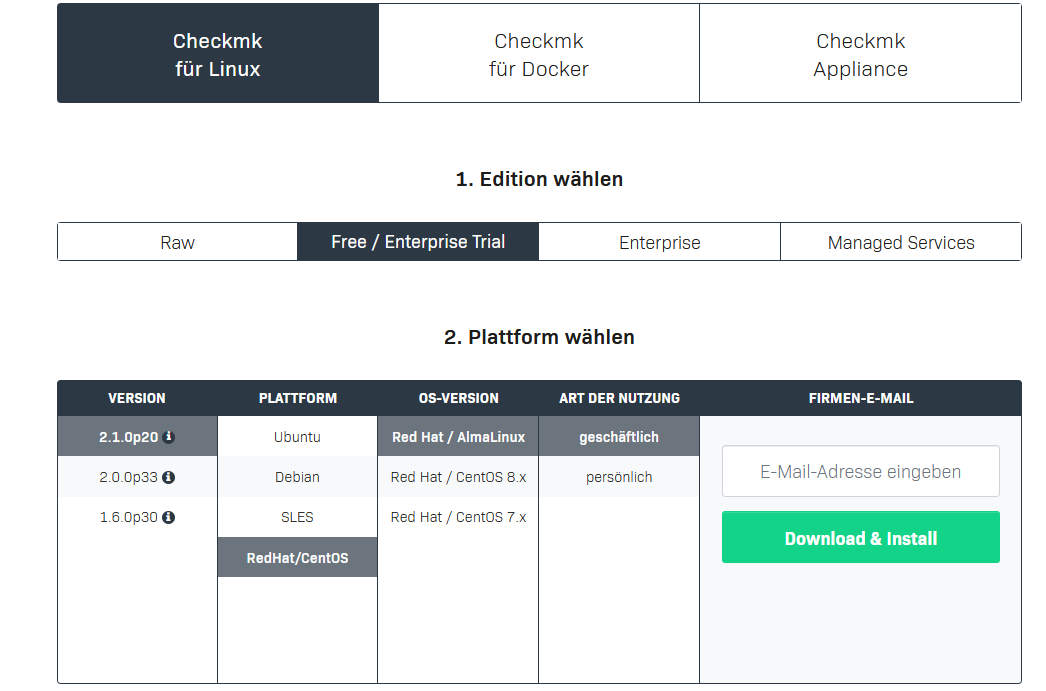
Nun Checkmk für Linux auswählen -> Free / Enterprise -> Version 2.1 bzw die Aktuellste -> Red Hat /Centos -> red Hat / Alma Linux -> geschäftlich
Emailadresse (Kann auch ne Fake Email sein, denn die Installationsanleitung kommt danach eingeblendet)
eintragen und auf Download & install drücken
Jetz werden die Befehle zur Installation angezeigt. Ich habe diese aber zum kopieren im nächsten Schritt angefügt

DIe Debdatei per WGET downloaden. Zur Zeitpunkt der erstellung des Artikels Version 2.1
wget https://download.checkmk.com/checkmk/2.1.0p20/check-mk-free-2.1.0p20-el8-38.x86_64.rpmNun das Paket installieren
rpm --install ./check-mk-free-2.1.0p20-el8-38.x86_64.rpm

Wenn wir einen haufen depencies Fehler bekommen. Sind die Abbhängigkeiten noch nicht installiert
warning: ./check-mk-free-2.1.0p20-el9-38.x86_64.rpm: Header V4 RSA/SHA512 Signature, key ID c4503261: NOKEY
error: Failed dependencies:
       dialog is needed by check-mk-free-2.1.0p20-el9-38.x86_64
       freeradius-utils is needed by check-mk-free-2.1.0p20-el9-38.x86_64
       graphviz-gd is needed by check-mk-free-2.1.0p20-el9-38.x86_64
       libgsf is needed by check-mk-free-2.1.0p20-el9-38.x86_64
       perl-IO-Zlib is needed by check-mk-free-2.1.0p20-el9-38.x86_64
       perl-Locale-Maketext-Simple is needed by check-mk-free-2.1.0p20-el9-38.x86_64
       perl-Net-Ping is needed by check-mk-free-2.1.0p20-el9-38.x86_64
       poppler-utils is needed by check-mk-free-2.1.0p20-el9-38.x86_64
       rpm-build is needed by check-mk-free-2.1.0p20-el9-38.x86_64
       rsync is needed by check-mk-free-2.1.0p20-el9-38.x86_64
       time is needed by check-mk-free-2.1.0p20-el9-38.x86_64
       uuid is needed by check-mk-free-2.1.0p20-el9-38.x86_64
Nun mit dem Paketmanger yum installieren, der installiert die Abbhängigkeiten gleich mit.
Überpüfen ob korrekt installiert wurde
omd versionDie Ausgabe sollte so aussehen
OMD - Open Monitoring Distribution Version 2.1.0p16.cfe
Nun eine Checkmk instanz erstellen. Eine Intenz wäre zum Beispiel Kunde oder ein Projekt.
Checkmk ist sogesehen Multi Mandant fähig.
Jede Instanz kann auch verschiedene Versionsnummern haben.
Z.b Eine Test umgegbung mit der schon Version 2 getestet wird und ne Prod die noch auf 1.6 läuft
Instanz erstellen
omd create <namederinstanz>

Beispiel
omd create monitoring
Hier bekommen wir den Hinweis, das wir zu wenig VCPUs haben.
Ist halt ne Testumgebeung. Gleichzeitig sehen wir hier das Kennwort für den Webadmin
Ausgabe:

Creating temporary filesystem /omd/sites/monitoring/tmp...OK
Updating core configuration...
Generating configuration for core (type cmc)...

WARNING: The number of configured checkers is higher than the number of available CPUs. To avoid unnecessary context switches, the number of checkers should be limited to the number of CPUs. Recommended number of checkers: 2
Starting full compilation for all hosts Creating global helper config...OK
 Creating cmc protobuf configuration...OK
Executing post-create script "01_create-sample-config.py"...OK
Restarting Apache...OK
Created new site monitoring with version 2.1.0p16.cfe.

  The site can be started with omd start monitoring.
  The default web UI is available at http://checkmk/monitoring/

  The admin user for the web applications is cmkadmin with password: **** wird natürlcih in klartext angezeigt ****
  For command line administration of the site, log in with 'omd su monitoring'.
  After logging in, you can change the password for cmkadmin with 'cmk-passwd cmkadmin'.
Damit wäre die Installation abgeschlossen.
Wie im oberen text zu sehen.
ist das Kennwort ändern übers Terminal jederzeit möglich.
omd su <instanzname>

dann
cmk-passwd <nuntername>


Beispiel :

omd su monitoring
cmk-passwd cmkadmin
Nun einloggen über IP/Domain Instanzname
Beispiel https://checkmk.io/monitoring
