PHP 7.4 Installation
Beschreibung
Installation php 7.4 und einfügen in ISPConfig
Installation
PHP 7.4 installieren
apt -y install php7.4 php7.4-cli php7.4-cgi php7.4-fpm php7.4-gd php7.4-mysql php7.4-imap php7.4-curl php7.4-intl php7.4-pspell php7.4-sqlite3 php7.4-tidy php7.4-xmlrpc php7.4-xsl php7.4-zip php7.4-mbstring php7.4-soap php7.4-opcache php-memcache php-imagick php-gettext libonig5 php7.4-common php7.4-json php7.4-readline php7.4-xml php7.4-curl php7.4-imagick php7.4-bcmathDanach erstmal die Ursprüngliche Version als default festlegen
update-alternatives --config php
update-alternatives --config php-cgi
nun wählen:
Ausgabe:
  Auswahl      Pfad             Priorität Status
------------------------------------------------------------
* 0            /usr/bin/php8.2   82        automatischer Modus
  1            /usr/bin/php7.3   73        manueller Modus
  2            /usr/bin/php7.4   74        manueller Modus
  3            /usr/bin/php8.2   82        manueller Modus
Einfügen neuer Config
Unter System -> Zusätliche PHP Versionen
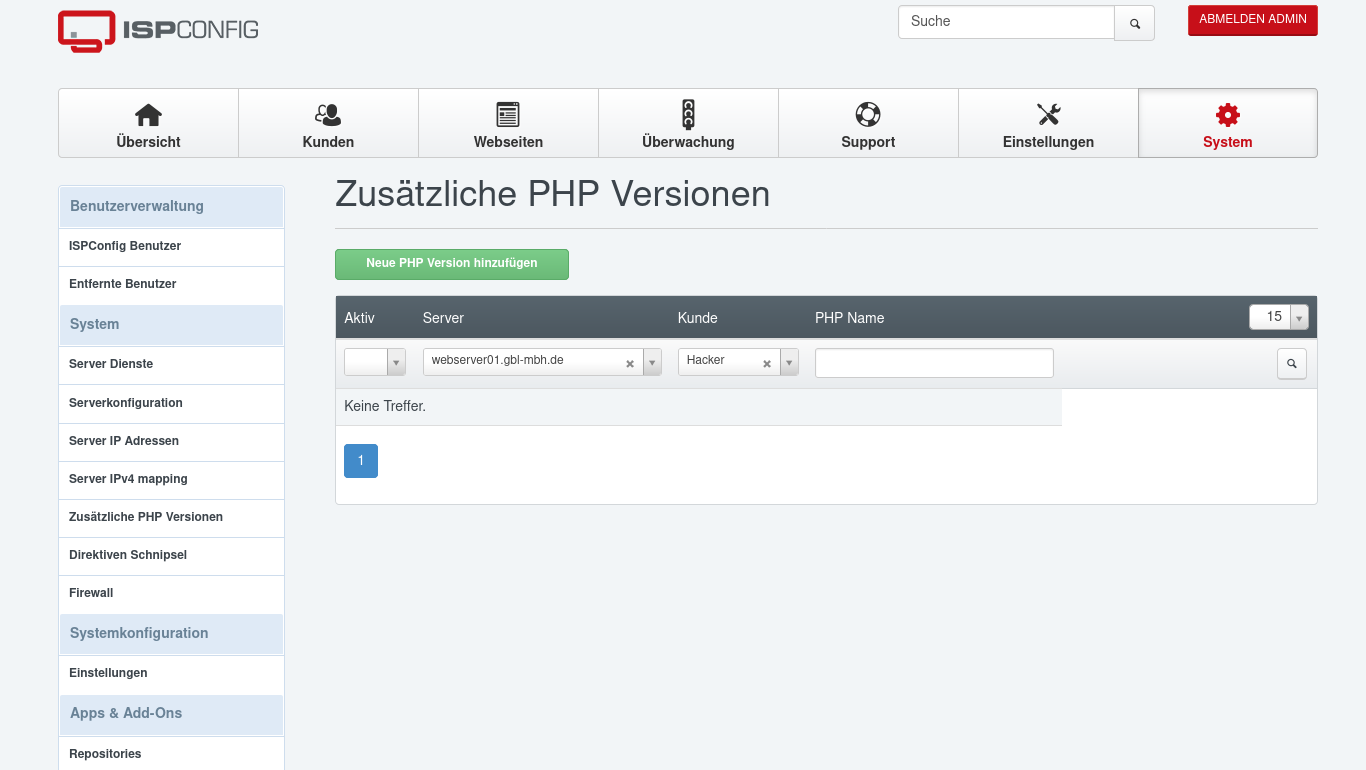
Dann auf PHP Version hinzufügen

Diese Werte eintragen
Server: <Server> (unseren Server auswählen)
Kunde: leer
PHP-Name: PHP 7.4
Aktiv: Ja

Nun auf den Registerreiter FastCGI gehen
Pfad zum PHP FastCGI Binary: php7.4-cgi
Pfad zum php.ini Verzeichnis  /etc/php/7.4/cgi/php.ini

Nun auf den Register PHP-FPM Einstellungen
Pfad zum PHP-FPM Init Script: php7.4-fpm
Pfad zum php.ini Verzeichnis: /etc/php/7.4/fpm/php.ini
Pfad zum PHP-FPM Pool Verzeichnis: /etc/php/7.4/fpm/pool.d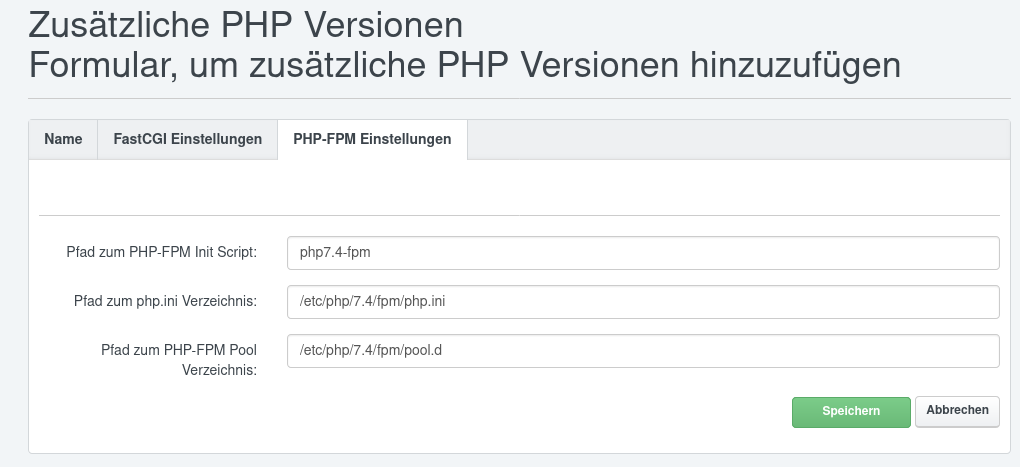
Nun auf Speichern klicken